Salesforce CRM Content Overview
Salesforce CRM content feature helps organize, share, search, and manage content within your organization and across key areas of Salesforce. Content includes all file types, from traditional business documents such as Microsoft® PowerPoint presentations to audio files, video files, Web pages, and Google® docs.
Key Features
- Organizing – Salesforce CRM Content stores files in fully searchable file repositories known as libraries with different permissions, access level, filters and private libraries features.
- Searching – The powerful Salesforce CRM Content search engine scans the entire body of the document as well as content properties such as the title, description, tags, categorization data, and author name.
- Subscribing – Content subscription ensures that you receive an email notification when new versions are published or changes are made to the file’s properties.
- Previewing – If the content is a Microsoft PowerPoint, Word, Excel, or Adobe® PDF file, you can preview the entire file in your browser without downloading it. Some aspects of files may not be displayed in previews. Copy-protected PDFs can’t be previewed.
- Contributing – Uploading new or revised files in Salesforce CRM Content is fast and easy. During the upload process you choose a library and record type for your file or Web link, write a description, assign one or more tags, and fill out any customized fields that help categorize and define your content.
- Sharing Content in Salesforce – Salesforce CRM Content is also integrated with leads, accounts, contacts, opportunities, cases, products, and custom objects.
- Sharing Content in Salesforce Mobile Classic – Users can share content with customers and colleagues from the mobile application when they’re away from their desks.
Setting up Salesforce CRM Content
Implementing Salesforce CRM Content for your organization includes:
- creating licensed users
- defining organization-level settings such as content fields, record types, and page layouts
- customizing the libraries where contributors will add and view content
- if applicable, enabling Salesforce CRM Content in your customer or partner portals.
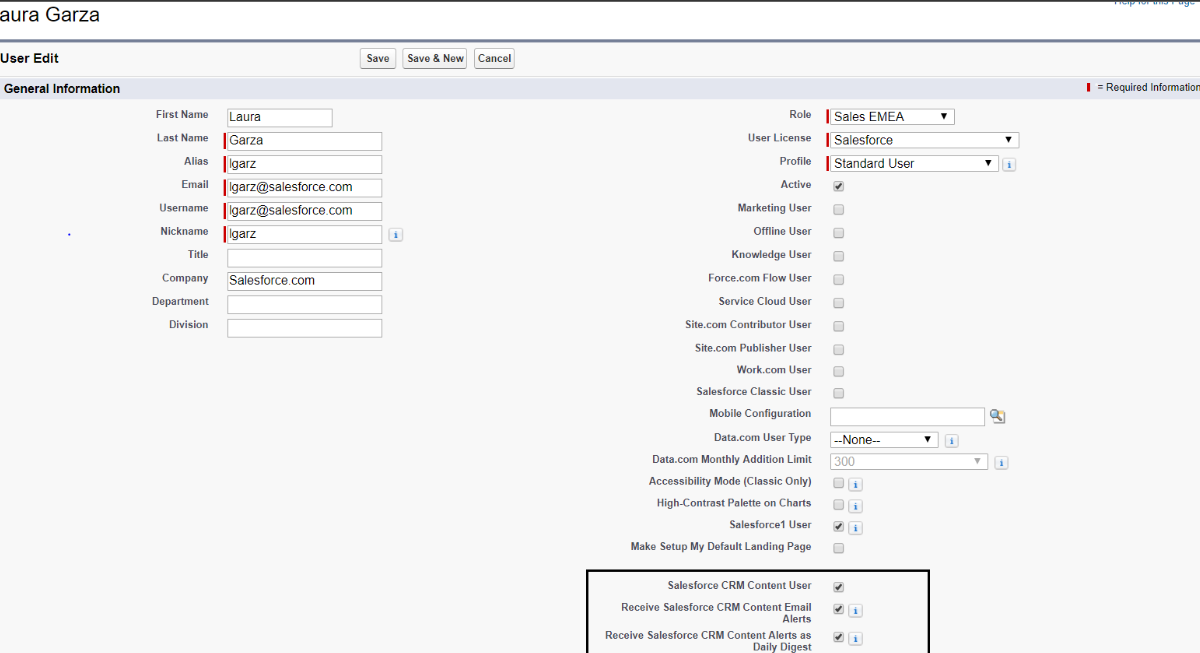
Creating Salesforce CRM Content Users
To create a Salesforce CRM Content user:
- From Setup, enter Users in the Quick Find box, then select Users.
- Click Edit next to the user’s name, and then select the Salesforce CRM Content User checkbox.
- Optionally, select the Receive Salesforce CRM Content Emails as Alerts checkbox or the Receive Salesforce CRM Content Alerts as Daily Digest checkbox.
- Verify that the Salesforce CRM Content user has the appropriate Salesforce CRM Content user permissions enabled.
- When you are finished editing the user record, click Save.
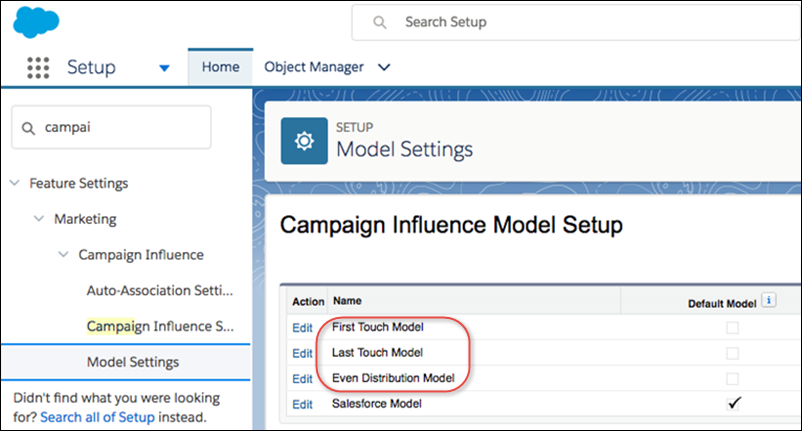
Enabling Multilanguage Support
To allow users to publish, edit, and search in any of the Salesforce-supported languages, from Setup, enter Salesforce CRM Content in the Quick Find box, select Salesforce CRM Content, and then click Enable multilanguage search and contribute.
Enabling Content Packs
What are content packs?
A content pack is a collection of related documents or files that are stored as a group in Salesforce CRM Content. For example, you may want to create a content pack with a product list, price quote, and contract to send to a particular customer.
Enabling Content Deliveries
What is Content Delivery?
Content Delivery:
- Converts documents like Word and Powerpoint presentation into an online format
- Makes viewing as easy as clicking link
- You can send it to recipients inside or outside your org
- You can track how frequently content was viewed
- Provide password protection to the content
Enabling Google Docs
If Add Google Docs to Salesforce service is enabled in your org, you can add Google documents/spreadsheets/presentations to content libraries on Library tab.
Content Permissions
To use content, you must enable Content in your org (Setup –> Customize –> Salesforce Files –> Settings –> Salesforce CRM Content):
Associating Content with Standard and Custom Objects
You can attach a content to Standard as well Custom objects by adding the Related Content related list on the page layouts.
- To search for content using the Related Content related list you have two options:
- Search All: Searches content in all the libraries accessible to the user
- Find Content: Searches content relevant to the record
- On the search results page, filter your results as needed by entering search terms or selecting filter criteria from the sidebar.
- Click Attach for any file that you want to attach to the record.
- Click the Back link to return to the detail page.
Configuring Libraries
Step 1: Create a New Library
- Click New in the My Libraries section of the Libraries tab home page.
- Enter a unique library name.
- If you want, add a Description.
- Click Save and Add Members or, if you want to add members later, click the Save and Close button.
Step 2: Add Library Members
- On the Libraries tab, click the library name if the library isn’t already open.
- In the Members section, click Add Members.
- If the member you want to add isn’t listed, start to enter their first name in the search box and click Find.
- Select members from the Available Members box. Members can include individual Salesforce CRM Content users or public groups containing Salesforce CRM Content users.
Tip: If you have many Salesforce CRM Content users, create a public group and add it to a library rather than adding users to the library individually.
- Click Add to add the members to the library.
- Click Next.
Step 3: Assigning Library Permissions to Members
Select a library permission for each user or public group and click Save.
Restricting Record Types in a Library
To restrict the record types allowed in a library:
- On the Libraries tab, select a library from the My Libraries area.
- Click Record Types.
- Optionally, change the default record type for the library.
- Select the Restrict the record types available in the library checkbox.
- For each record type that you want to allow in the library, move it from the Available Record Types list to the Selected Record Types list.
- Click Save.
Library Permissions
Each library member has specified permissions that determine what actions they can perform within the library:
You can add new permissions as well as modify the existing ones. To edit a Salesforce CRM Content library permission, from Setup, enter Content Permissions in the Quick Find box, then select Content Permissions. Then click Edit next to the appropriate permission.
Enabling Salesforce CRM Content in Portals
Salesforce CRM Content is available in the Customer Portal and partner portal. Two levels of access to Salesforce CRM Content can be granted to portal users:
- Portal users without a Salesforce CRM Content feature license can download, rate, comment on, and subscribe to content if they have the “View Content on Portals” user permission.
- Portal users with CRM Content feature license can :
- Access content in libraries
- Move and Share content among libraries
- Delete content
- Contribute content
- View CRM Content reports
Note: While Portal users with Content feature license can contribute content which is creates a content and a content version, they cannot distribute it (content delivery record cannot be created). If you would like to do that, you would need a batch apex running in the background under the System Admin’s context to create the content deliveries.
Accessing Salesforce CRM Content
Licensed users can access Salesforce CRM Content by choosing Content from the Force.com Apps drop-down list.
Let’s look at the Salesforce CRM Content Application. It has three tabs:
Libraries tab
Under Libraries tab you can:
- Access your personal library
- View/edit a shared library
- Analyze library usage and activity
- Create new libraries
- Publish files, web links, Google docs and custom content packs
Content tab
On Content tab user can view:
- Files, content packs, weblinks, Google docs published in Content libraries
- If Chatter is enabled, files posted to chatter groups
- Public Chatter files
- 20 most recently modified items
- Search and filter content
Subscriptions tab
On Subscriptions tab user can:
- view and toggle on/off Content subscriptions
- Click Content, Tags, Authors or Libraries subtabs to view subscriptions